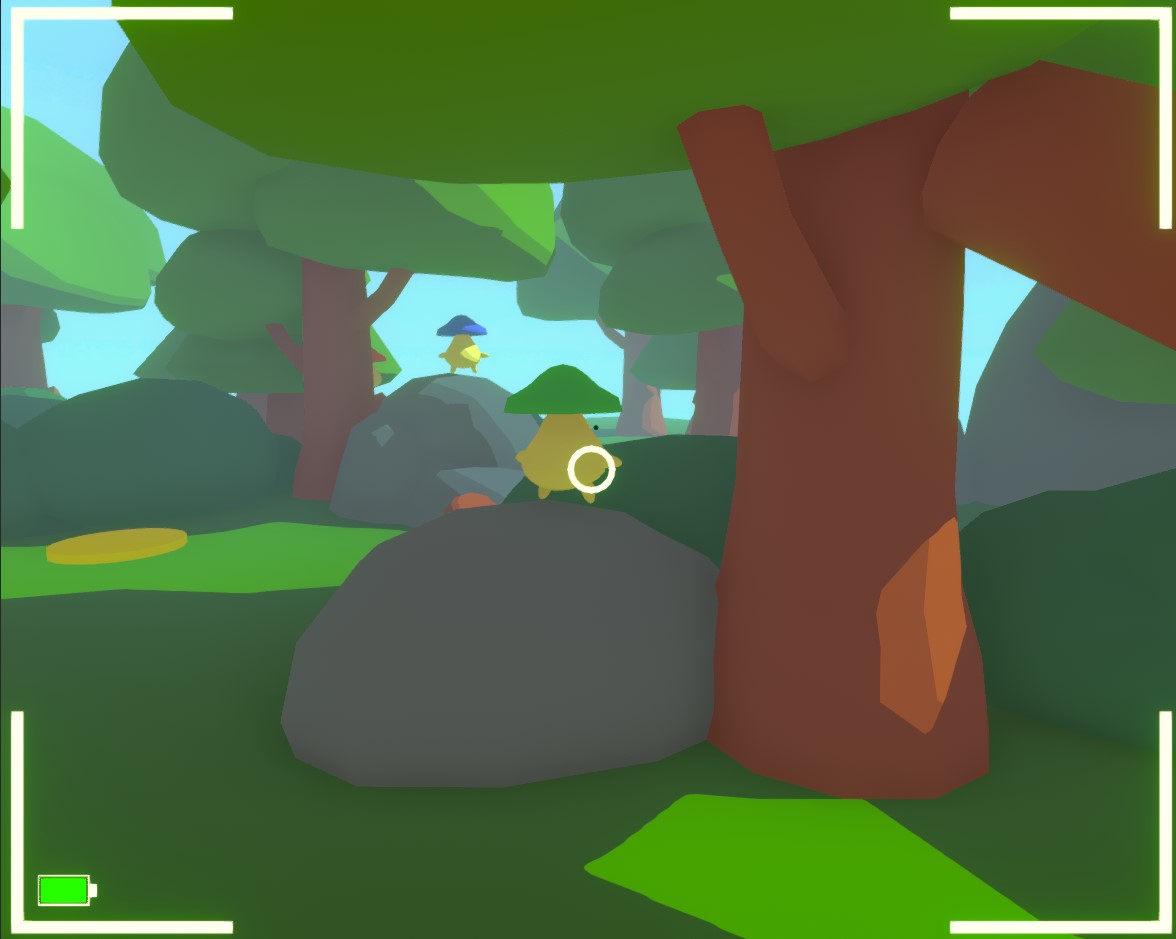
As a mushroom-enthusiastic photographer, your goal is to score points by capturing great photos of various kinds of mushies in your surrounding environment within the time limit.
Contributions
- Implemented camera gameplay and features
- Wrote code that evaluates the player’s score based on multiple factors
- Assisted in designing gameplay around hardware constraints
- Invoked cross-team collaboration to formulate an extended design of the core game
- Brought life to mushies 🍄
First Playable Prototype
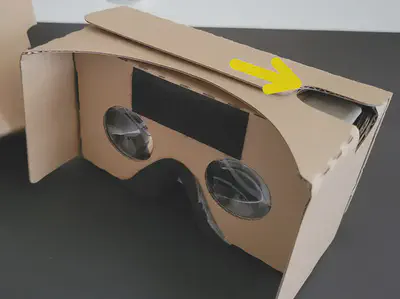
Leveraging Google Cardboard Constraints
Designing the gameplay featuring the limitations of the Google Cardboard was a bit tricky since the hardware only provides one button and 3 degrees of freedom (DoF), but eventually the headset worked in our favor in creating gameplay that was intuitive. For our game, the player needed to be able to:
- take photos
- move around in the environment
- pause/resume the game
First, the hardware setup was perfect for the core mechanic since the only button on the headset allows the player to act as if they are taking photos with a digital camera.
For movement, we wanted to ensure that players do not experience motion sickness. Of course, this means that any involuntary movement (like vehicle on rails) is out of the picture (pun intended). On top of that, we already assigned the only button on the hardware to capture photos. This left us with using the player’s “gaze” to navigate the environment.
Rather than continuous movement, players would gaze at a node placed in the level to teleport - which was inspired by the game, Trover Saves the Universe. Because the player could stay only on top of nodes placed strategically around the level, this saved us time from placing boundaries and invisible colliders to keep the player within the map. This also meant that we had complete control over what the player sees at each node. Additionally, since mushies are shy creatures, we found it very fitting to place logs, trees, and bushes that allowed mushies to hide from the player’s view.
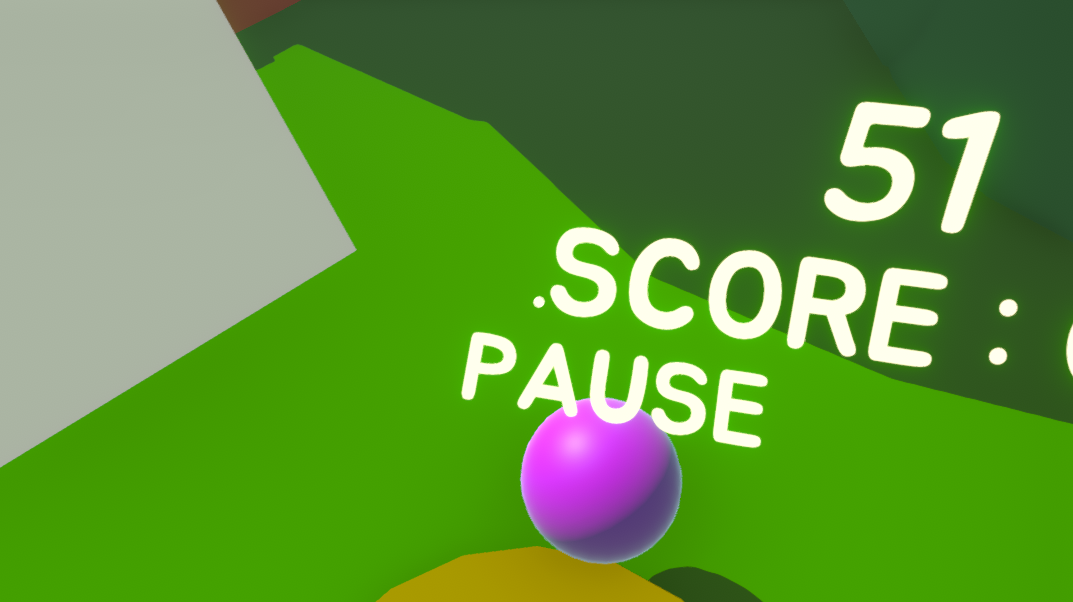
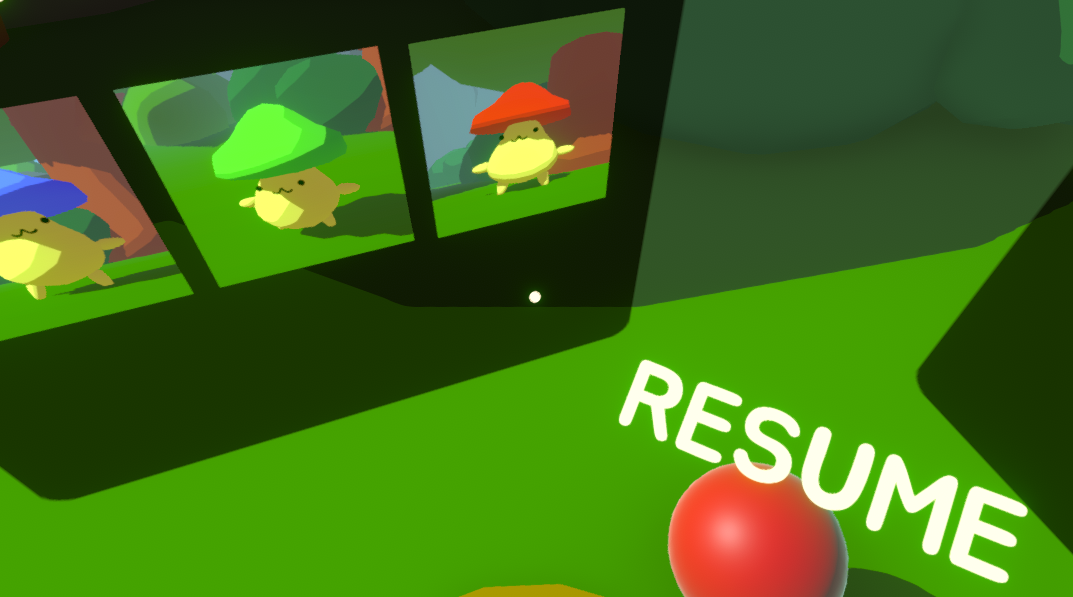
Lastly, we extended the gaze technique to pausing and resuming the game by placing gaze-able objects below the player’s main view. The reason for placing them at the bottom is to mimic the way photographers look down at their digital cameras to browse the viewfinder.
Engineering the Camera Gameplay
Since the camera was the most important feature in the game, I made sure that its design was maximized and that anything that could make it a nuisance to the player would be minimized. Some design questions I tackled related to the camera and the gameplay around it were:
- How do we further the experience of using a digital camera in addition to the shutter button?
- How can we quantify a “better-scoring” photo?
- How do we get mushies to interact with the camera even if they are camera-shy?
Expanding the Digital Camera Experience
First, the photocard was done by using a quad which can copy the camera’s render texture at any given snapshot. As soon as the player presses the shutter button, the camera will send a render texture of its current view and project it to the photocard.
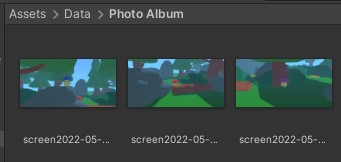
Second, when a photo is captured, it is stored in the photo album which is located in the application’s data path.
Third, a camera display was a must. I added the typical borders and the battery indicator. And yes, the battery indicator represents your device’s battery level! If your device’s battery level is <20%, you’ll know it’s time to take a break and charge your camera. I used Unity’s SystemInfo class to access the battery level.

Lastly, I added a camera shutter animation and sound effect.
Photo Evaluation
To keep image-scoring simple, I programmed two methods of evaluation: distance to subject and subject bearing.
Evaluate distance from subject
void EvaluateDistanceFromSubject(Transform subject)
{
    Dictionary<Teleporter, float> nodeDistancePairs = new Dictionary<Teleporter, float>();

    // Calculate distance from each node to the subject and store results in nodeDistancePairs
    for (int i = 0; i < numberOfNodes; i++)
    {
        nodeDistancePairs[NodeManager.Instance.Nodes[i]] = Vector3.Distance(NodeManager.Instance.Nodes[i].transform.position, subject.position);
    }

    // Get list conversion from nodeDistancePairs
    var nodeDistancePairsList = nodeDistancePairs.ToList();
    // Sort list by distance values from smallest to largest
    nodeDistancePairsList.Sort((pair1, pair2) => pair1.Value.CompareTo(pair2.Value));
    int currentNodeIndex = 0;

    for (int i = 0; i < nodeDistancePairsList.Count; i++)
    {
        // If this node is the same as the current node the player is on
        if (nodeDistancePairsList[i].Key.Equals(NodeManager.Instance.CurrentNode))
        {
            currentNodeIndex = i;
            break;
        }
    }

    // Calculate score for distance evaluation
    float evaluation = (float)maxEvaluationScore / (currentNodeIndex + 1);
    score += Mathf.RoundToInt(evaluation);
}
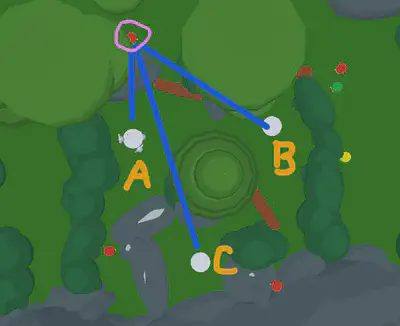
In Figure 1, you can see the nodes are white. Let’s assume the player is at node A and the subject of the photo is circled in pink. Theoretically, the player should receive a higher score if the photo was taken at node A. If the picture was taken at node B, the distance score would be halved; if taken at node C, the score would be a third of the max evaluation score.
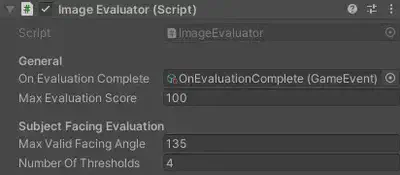
Finally, the ImageEvaluator class calculates the subject’s relative bearing. Basically, the more direct the subject is facing the camera, the higher the score.
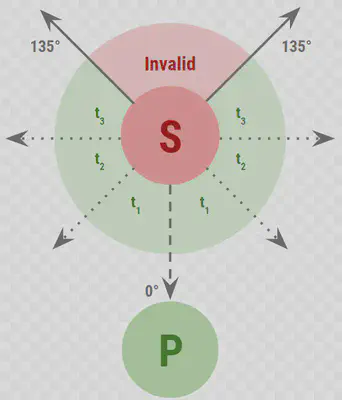
In Figure 2, S is the subject of a photo taken by photographer P. If S were to look directly at P, the bearing would be 0°. In this scenario, the max valid bearing of S is 135°. This means that if S were to face anywhere in the red area, no score is added.
Evaluate subject bearing
void EvaluateSubjectFacing(Transform subject)
{
    // Get direction vector from subject to player
    Vector3 direction = NodeManager.Instance.CurrentNode.transform.position - subject.position;

    // Get angle between direction vector and the subject's forward vector
    // Ignore Y axis
    float angle = Vector3.Angle(new Vector3(direction.x, 0f, direction.z), new Vector3(subject.forward.x, 0f, subject.forward.z));

    // Return if angle exceeds max valid facing angle; no points added
    if (angle >= maxValidFacingAngle) return;

    float[] thresholds = new float[numberOfThresholds];

    // Calculate angle thresholds
    for (int i = 0; i < numberOfThresholds; i++)
    {
        thresholds[i] = i * (float)maxEvaluationScore / numberOfThresholds;
    }

    // Calculate prescore (a.k.a. raw score; result is a fraction of the max evaluation score possible)
    float prescore = maxEvaluationScore * (1 - angle / maxValidFacingAngle);

    // Loop through all thresholds except the last one
    for (int i = 0; i < numberOfThresholds - 1; i++)
    {
        // If prescore lands in this threshold
        if (prescore >= thresholds[i] && prescore < thresholds[i + 1])
        {
            // Calculate discrete score based on number of thresholds
            float evaluation = (float)maxEvaluationScore * (i + 1) / numberOfThresholds;
            score += Mathf.RoundToInt(evaluation);
            return;
        }
    }

    score += maxEvaluationScore;
}
To make things a bit more interesting, the evaluation score varies depending on which threshold the subject’s bearing lands. In Figure 2, there are three thresholds. Threshold t1 would yield a higher score compared to t3.
Bringing Mushies to Life
As aforementioned, mushies are cute and shy creatures. But what good comes from taking their pictures if they just stare at you without captivating expressions?
For that reason, I worked with a 3D animator on the core team to produce animations for mushies. The simple idea was that anytime you point the camera at a mushie, it would react shyly, wave at you, or even laugh at you.
I used the IPointerEnterHandler interface provided by the UnityEngine.EventSystems namespace to detect if the player’s reticle (pointer) is hovering over the mushie game object.
Tony Nguyen
Technical Game Designer
Tenacious game developer with an unwavering passion for overcoming game development challenges.